Today, our shadowing project started in the afternoon,
at around 4pm in the afternoon. This time, Angeline was the one who brought us
into the laboratory to view other researchers’ work. We will see how they
measure the efficiency of the solar panels they have fabricated.
We were brought to a box-shaped machine that was
connected to a computer, both placed on a desk. The machine
looks very much like an oven, with its inside surfaces lined black and strange
contraptions filling the rest of the space. Among them were a multimeter, wires
and a small platform with a knob for adjusting its height.


We were told that this machine, a solar simulator, measured the
performance of a solar cell that they made. Already, I gathered that much
effort and time is invested in making just one solar cell that is only slightly
larger than a thumbnail. A bright white light, when turned on, mimics the
wavelengths of the sunlight and provides a consistent illumination upon the
solar cell. The light was so bright that eye protection, which came in the form
of tinted goggles, much like sunglasses, was needed to operate the device.
Hooked up to a multimeter, the researchers painstakingly adjusted the
connections between the wires and the solar cell. This process took a massive
amount of time, and we were becoming restless.
Finally, after what seemed like an eternity of
idleness, the researchers began to take readings. Points were sampled and
graphs were plotted on the computer screen. However, it seems that the
adjustments were not complete. Visibly dissatisfied with the graph, the
researchers returned to adjusting the connections. What a letdown. I thought
that they had already perfected their wire connections.
To whittle away the waiting time, I turned my
attention to the black gloves protruding from sealed chambers. They looked
slightly familiar, resembling those shown in cartoons. The parts of the gloves
where the fingertips would otherwise be were squashed in. As they swayed up and
down, they resembled ghostly hands reaching out to everyone near them, brushing
against all who walk past. I shuddered. I wouldn’t want to find myself in the
company of such ghostly appendages alone, especially not in the dead of the
night.
Angeline explained that the chambers were glove boxes.
They provided a separate atmosphere from the rest of the laboratory to carry
out reactions. This could be to prevent the oxygen in atmosphere from
interfering with the reactions and reduce the humidity in the chamber. The exact
composition of the atmosphere could be adjusted with a touch screen panel on
the left of the machine. Even the pressure in the chamber could be altered.
When using the glove box, the pressure of the chamber will be lowered, so that
it will not hurt the hands. A key indication is the drooping gloves hanging out
from the chambers.
Just then, we heard a cry from the other side of the
laboratory. The researchers were ready and were taking measurements. Line after
line of a current-potential difference graph was plotted on the same graph;
each graph was a separate colour for easy identification. The researchers
explained that a square-shaped graph is the most ideal, as it has the largest
area and can produce the most power. We later discovered that a device, hidden
in a cupboard below the computer, varied the potential difference across the
solar cells and thus provided the data points. I guess that accounts for a
non-zero potential difference for a zero current and a non-zero current for a
zero potential difference on the graph. Finally, the analysis was done and we
exited the laboratory.
Just as we were heading back to the cubicles where we
were stationed, one of the researchers gave us one of the solar cells that they
were working on.
“It doesn’t work,” he explained.
We goggled at it unabashedly. It was the first time we
saw one of the end products of the solar cells up close. At first glance, it
was a black tile. However, upon closer inspection, one could see that one
surface of the solar cell was transparent (glass) and the other was black
(solar cell). On the black surface were regularly arranged squiggly lines.
These were the electrodes, made of aluminum to reduce costs. I’m not really
sure how the solar cells are connected to form a complete circuit though.
“The solar cells are toxic, you know?” The other
researcher informed us as we examined the solar cell. “Wash your hands after
you have touched it.”
Upon hearing this news, all four of us scrambled to
the toilet. We practically shoved the solar cell at one another, in a bid to
get rid of it. However, we could not throw it away as it served as a good
specimen to show the other groups during the final presentation. In the toilet,
we scrubbed our hands with alacrity. The toxic substances in the solar cell include
cadmium sulfide (CdS) and selenium.
I guess we still haven’t learnt the lesson. Never
touch something if you don’t know what is in it, especially if it comes from a
research laboratory.
Lab work today! We saw how the different chemicals were used
to make a solution to coat our sample.

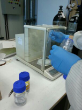
But first, the preparation of the different chemicals
needed.

These are the ones used today, dissolved from solid salts previously.
Cleaning of apparatus and specimen; via ultrasound!
Diamond-tipped “pen”; helps to cut our specimen.
Solution mixing in progress…
Introducing the fume hood, where waste gases are carried out.
Finally, to evaporate the solution that is sprayed on to
obtain the coating, we heat it using a hot-plate. Wrapped in aluminium foil.
Too bad the machine used to coat the specimen is faulty=1
hour of manual spraying of the solution for the
sample.
We thank you for your hard work and jiayous!
Tuesday 26 November 2013 .
Day One & Two
00:06
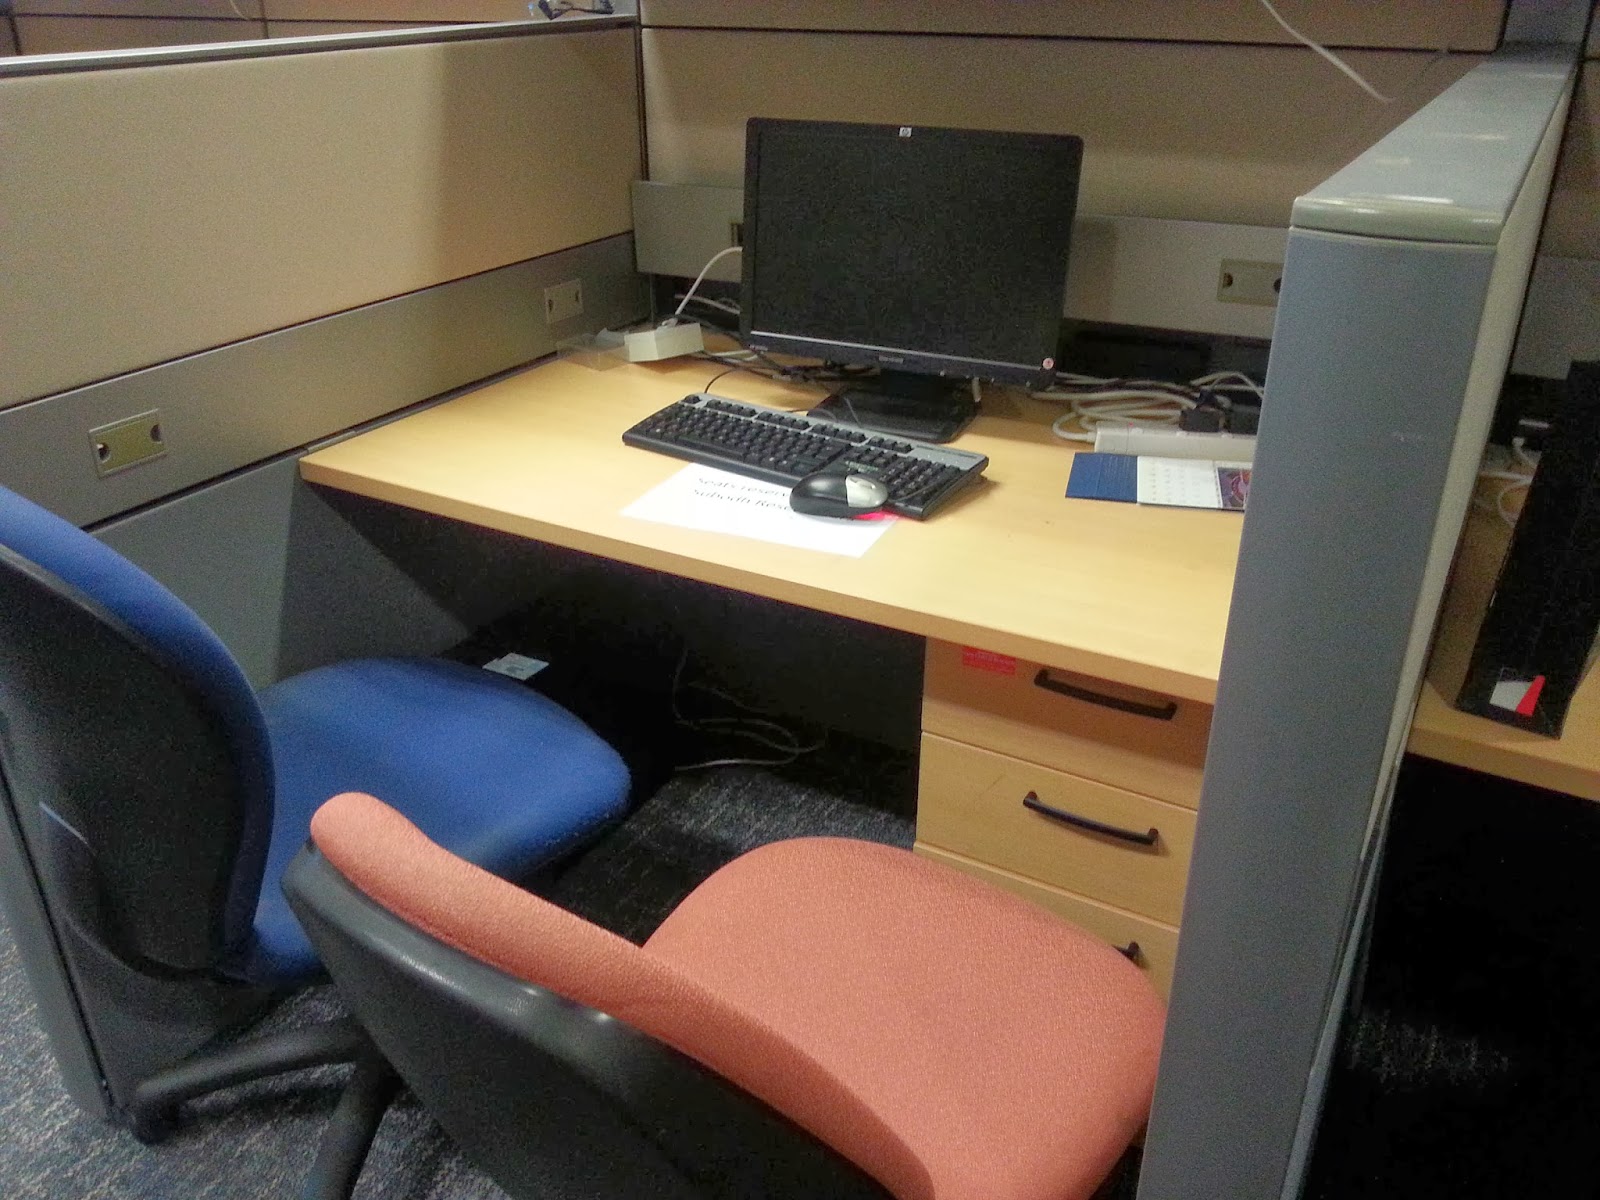
Hello everyone, and we are Team Angeline!
Our new office!
We have been learning about thin film solar cells, how they are made and why they are made that way. Through these two days, we have observed and tried for ourselves how to prepare the substrate: the very first layer of the thin film solar cells
Firstly, we cut the glass.
 Then we wash it for 30 minutes! No. Its not a bathtub or boiler, it uses ultrasound to clean. Don't believe me, listen to it - if your eardrums don't GO "BOOM"! Seriously, Anyone else feel their eardrums thinning?!

Now that its clean, we can coat it with the molybdenum! They called it sputtering. Vacuum suction in work!

After hours of waiting...

Oh look! Its done!
So shiny! Just don't look at it directly, its awesomeness is blinding. No wait, that's just our reflections in smart lab wear. Be careful ladies, in case you skipped one or more heartbeats.
Now we can measure how thick the layer is...with a stylus! Looks more like a needle to me. That needle is a shy one, retreating as soon as it touches the specimen...probably because we're around. Heh.
So then, we measure the distance between the specimen and the bottom most layer and thanks to our lab experts - voila!
Like magic, huh? Now then - STUPIFY!
On to the second layer tomorrow!


.jpeg)

.jpeg)


_1.jpg)
 But first, the preparation of the different chemicals
needed.
But first, the preparation of the different chemicals
needed.


 Then we wash it for 30 minutes! No. Its not a bathtub or boiler, it uses ultrasound to clean. Don't believe me, listen to it - if your eardrums don't GO "BOOM"! Seriously, Anyone else feel their eardrums thinning?!
  Now that its clean, we can coat it with the molybdenum! They called it sputtering. Vacuum suction in work!
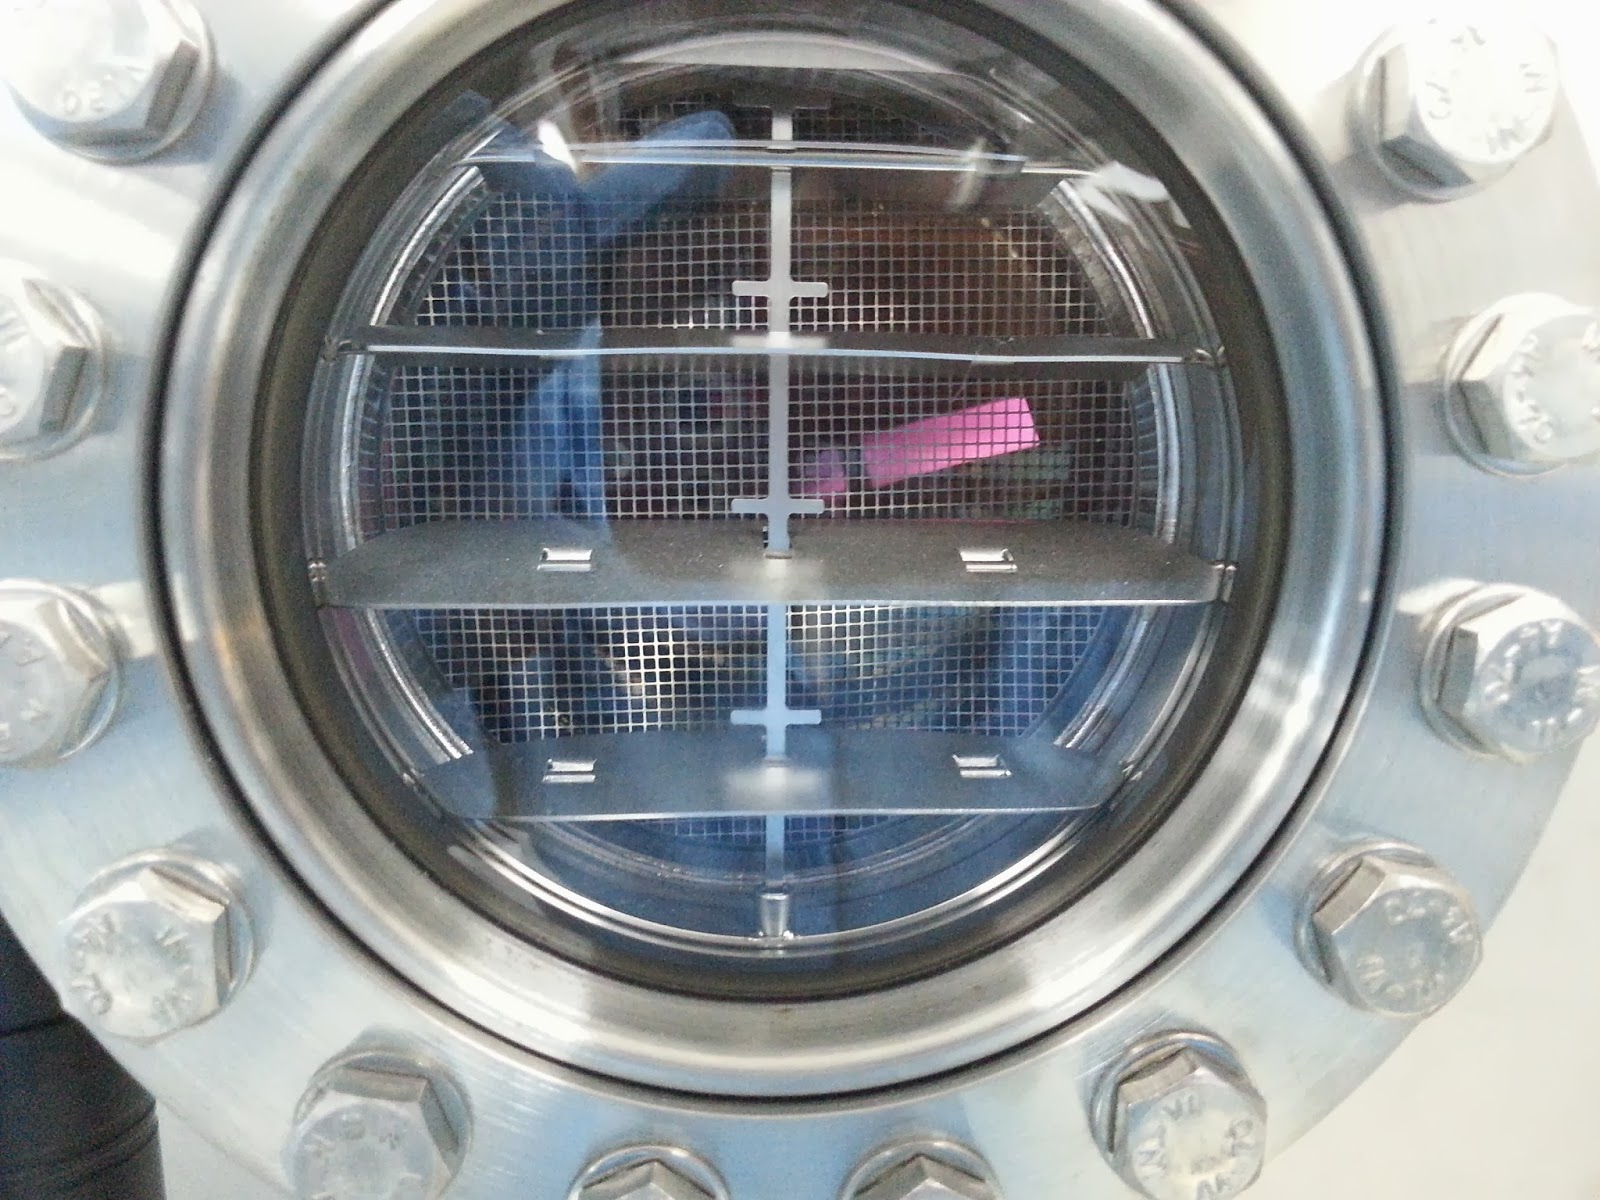 After hours of waiting...
 Oh look! Its done!

